Showing posts with label crafts. Show all posts

8/21/13

Behind-the-scenes of my latest DIY


Laying out and (hair) pinning my template dress

Georgina doing all the work


cutting with plenty of wiggle room


basting with a thread color I can see


taking a nap after all that hard work.

8/15/13

DIY: Mesh Chainmail dress, shopwasteland.com's "Chloe"

So I saw this dress from Wasteland clothing and I said, dayumn I like that dress. 
But then I looked at how much it cost.

I do not believe in that dress for $135.

So I made one myself.

For $13.

(Well, I don't know how much my labor cost me; I already have sort of a lot of free time, and I never sleep until 4 a.m. anyway, so let's just say it cost me one needle-shoved-up-my-fingernail. Yeah, Chinese torture happened in the making of this dress. I don't have a sewing machine, so I hand-stitched this motherfabric. Bro you don't even know.)


I even did her awkward little poses. I had a beer first.


I admit this one was the hardest ...


Fabric: Fulton Fabric, 398 Bridge St  Brooklyn, NY
Shoes: Jeffrey Campbell Lita Spike
Jewelry: pendant by my father!
Hair: I grew it, that's what it does

- the end -

1/17/12

DIY Fabric-covered denim shorts

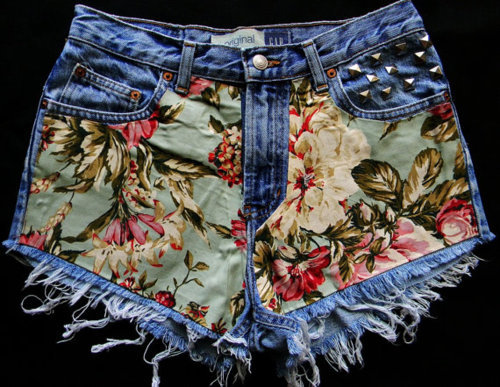
I've had this photo sitting in my "fashion" folder on my computer for some time, and recently looked at it again while at home.

(clicks through to my fashion Tumblr. I regret that I don't know the source of this photo. VERY SORRY; CONTACT ME IF THIS IS YOURS.)

I happened to have some cool fabric saved in my remnants suitable for the job. And some Levi's cutoffs from the Salvation Army.

As you can see in the picture, the fabric appears to be adhered to the denim without stitches; it looks like it's glued on. So I armed myself with some fabric glue, which I've never used before, so this was kind of experimental, and set to work.
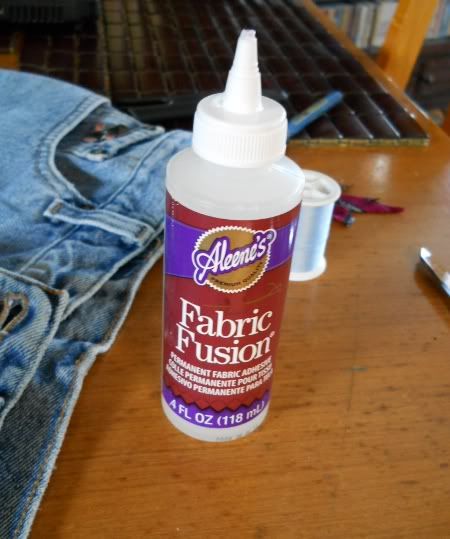

You have to cut the tip off of it to start using it. I joked that it's Jewish glue. Mom didn't laugh as much as I'd hoped.

I started with what looked to be the hardest part, because that's the kind of gyal I am: the belt loop.
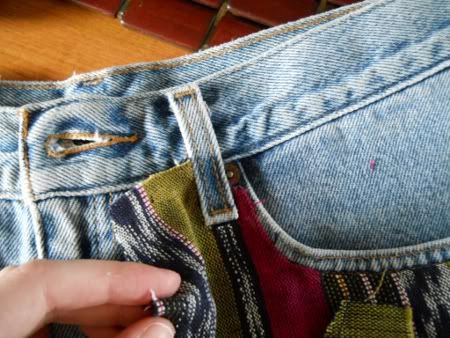


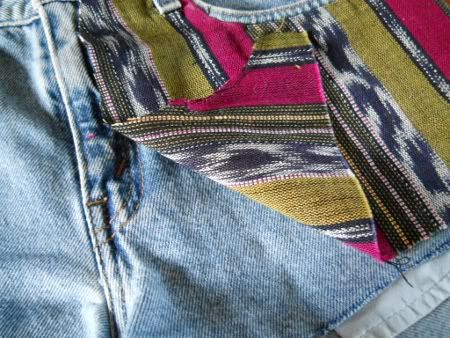
I cut one incision not quite the length of the belt loop, and two more diagonally to the corners, then folded under; that's how it sits flush with the loop. (In my opinion I did this much more neatly than whoever made the inspiration shorts ... )

First I tried just using the glue, but the shit totally doesn't stick right away and I don't know how long you have to hold it for it to bond. I don't have that kind of patience. So what I did was put glue down, press the fabric into place, and tack a small stitch into it through the glue, on each corner.

Then I went for the pocket. This was kind of tricky because it's curved. This would have been much harder with the cotton used on the inspo pair, but my fabric has a bit of leeway, so it curved nicely. I continued my glue/press/stitch method.
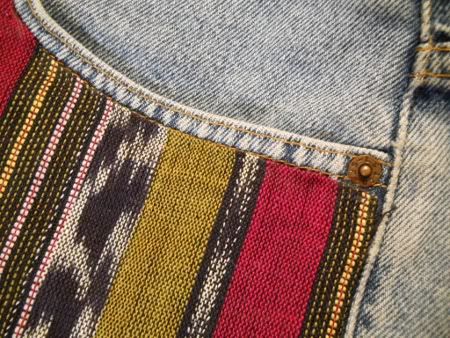

artfully dodged that rivet

Then I tackled the crotch area.
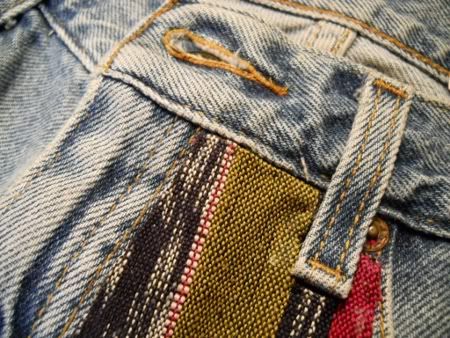


This proved the most difficult because I didn't cut it very smartly. Oh well.

And here's the final product!
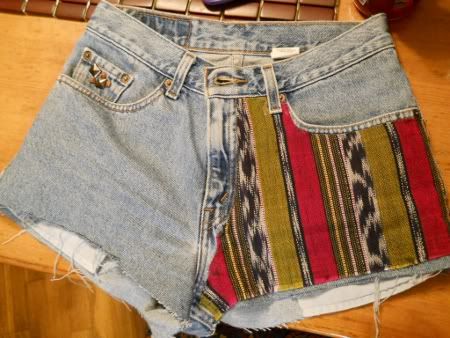


Now I know why the original DIY'ers opted for the angular cuts around the zipper. That crotch part was unnecessarily challenging. Luckily the un-straight line doesn't show when I put the shorts on.

I opted for just one side for now, because I'm a little wary of this look ...


Also I didn't want it to be like the "skort" effect, where you think it's one thing in the front and then you find out you've been horribly deceived, by the back. I guess you could call it the "mullet" effect, too. Well anyway, there's still more fabric, if I change my mind.

1/3/10

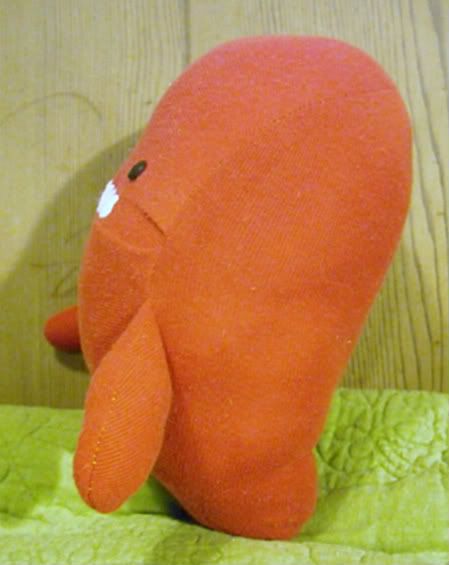
Uglymonster

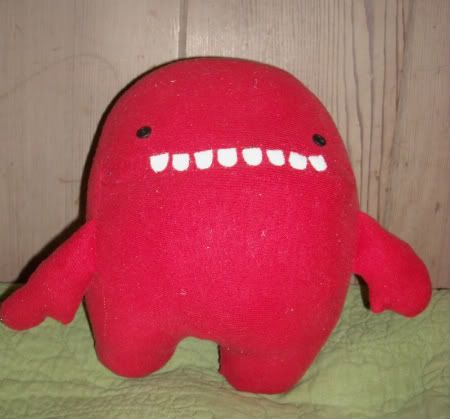
Made from a red t-shirt that belonged to my late grandmother.


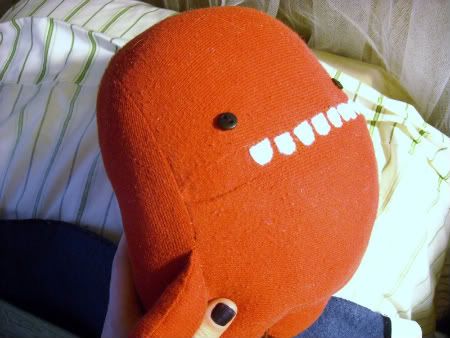
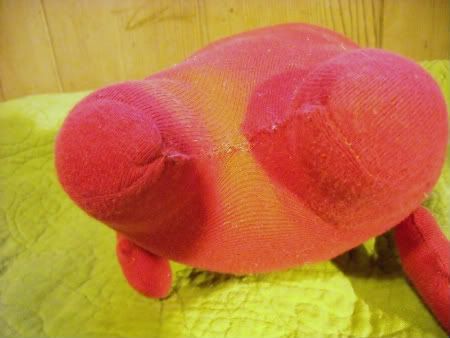
As you can see, using a knit had an interesting effect: the front and back layers were cut with the grain perpendicular, so they stretched different directions when I put the stuffing in, creating a bowed effect.

Crotch shot so you can see his little feeties.

1/1/10

DIY: Imitation Free People Crochet Headband

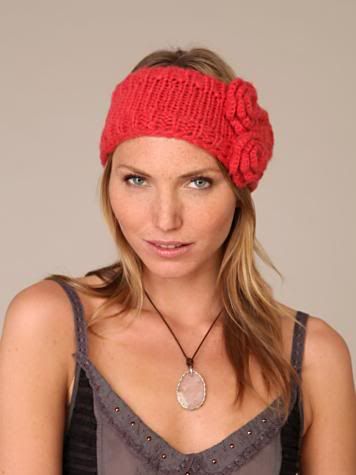
Back in early December my boyfriend made me walk with him around the mall and show him things I liked, because he didn't know what to get me for Christmas. (It felt like cheating, but thankfully he got me nothing I pointed to, so I guess it was fair.) Anyway, During this excursion we went into Free People, where I found a knit head wrap with crochet flowers on it that looked surprisingly cute on me:

... but it was $28. I didn't feel like shelling out thirty bucks on a headband. BUT the other day I checked in on Threadbanger's latest DIY videos, and lo and behold, a tutorial on how to crochet a headband:


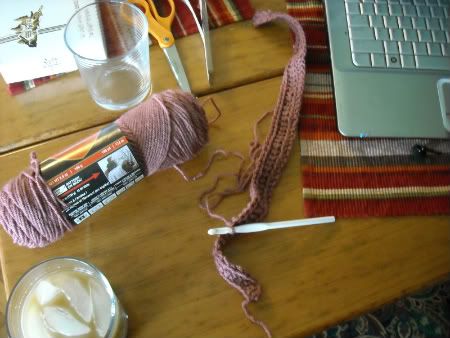
I embarked on a project (complete with iced coffee and See's chocolate nearby):


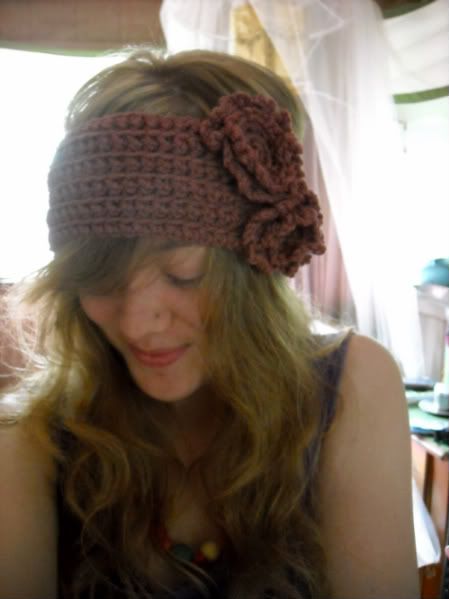
JUST so everyone knows, flower appliques are IMPOSSIBLE to crochet, and anyone who makes them is a liar because a quadruple crochet stitch can't be done. Since I can't figure it out. After giving up on countless videos, including a really awful Threadbanger one (usually they rock, but this one was just terrible; most of their YouTube comments agree with me), I fudged some sort of frilly circular things that can pass for something floral, and tied them on.

Here is my cat, modeling the final product:


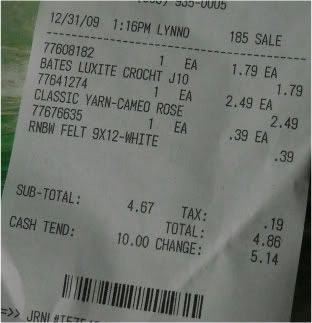
I saved the best part for last. The price!:

7/17/09

DIY Project: Recycled Bloomer-Style Underwear

The concept and instructions for this project came from threadbanger.com's video about Clare Bare's handmade, custom lingerie:


I used the pattern provided (Clare Bare Underwear Pattern), which I measured out with a ruler and freehanded.

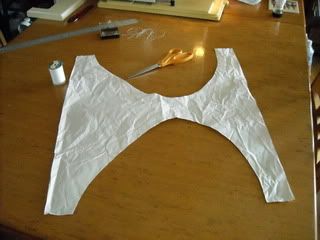
Here is my pattern:
A note for next time, if I do this again: I would make the crotch area a bit longer, and make more of a curve for the leg holes in front.

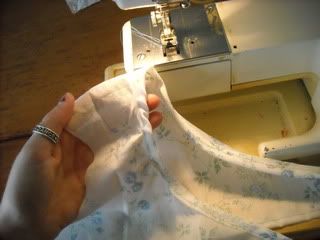
I chose leftover, very lightweight cotton fabric from a previous sewing project (okay, so it's not EXACTLY recycled, but it's not new, either). I don't have a serger, so I skipped right to the hemming part:


A picture of my tidy seams.

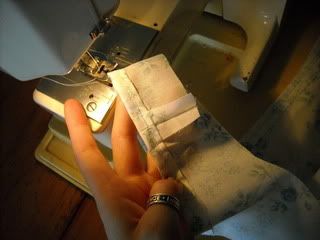
This is the part I had the most trouble with, sewing the hem on the crotch curve. I'm not that skilled of a seamstress, so I'm not sure how you're supposed to make un-stretchy fabric lie flat on a curve ...


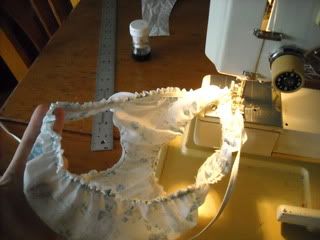
Last, I sewed on the elastic. There wasn't any fancy "purpley pink" scalloped elastic at our local fabric store, so I just went with some soft, stretchy 1/4" normal kind.


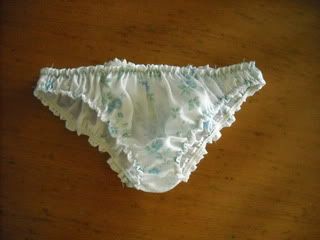
And, the finished product! They look TINY, but the elastic is extremely stretchy. They fit, in an itsy-bitsy teeny-weeny bikini kind of way. And no, I won't model them.

7/13/09

The Making of a Monkey

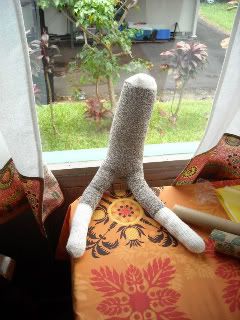
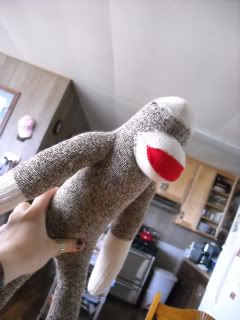
Sock #1, with legs. Probably the creepiest, funniest stage.

Addition of arms and mouth. Thankfully from this angle you can't tell I put the arms on crooked.

let's hear it for the eaaarrssss

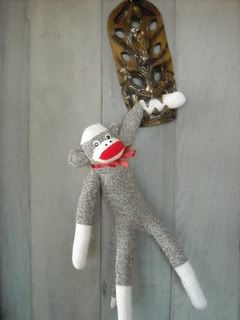
The finished product! I skipped the embroidery across the mouth, because I like the "crazy yell" look better than closed lips.

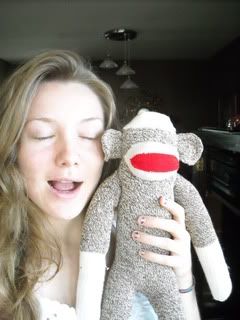
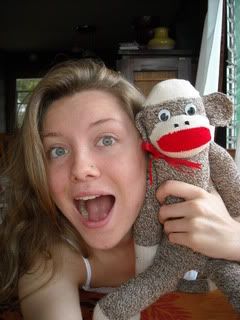
... and some fun photo-ops with my new Sock Monkey friend.